Simple Digital Read Out (DRO) with the ATmega328

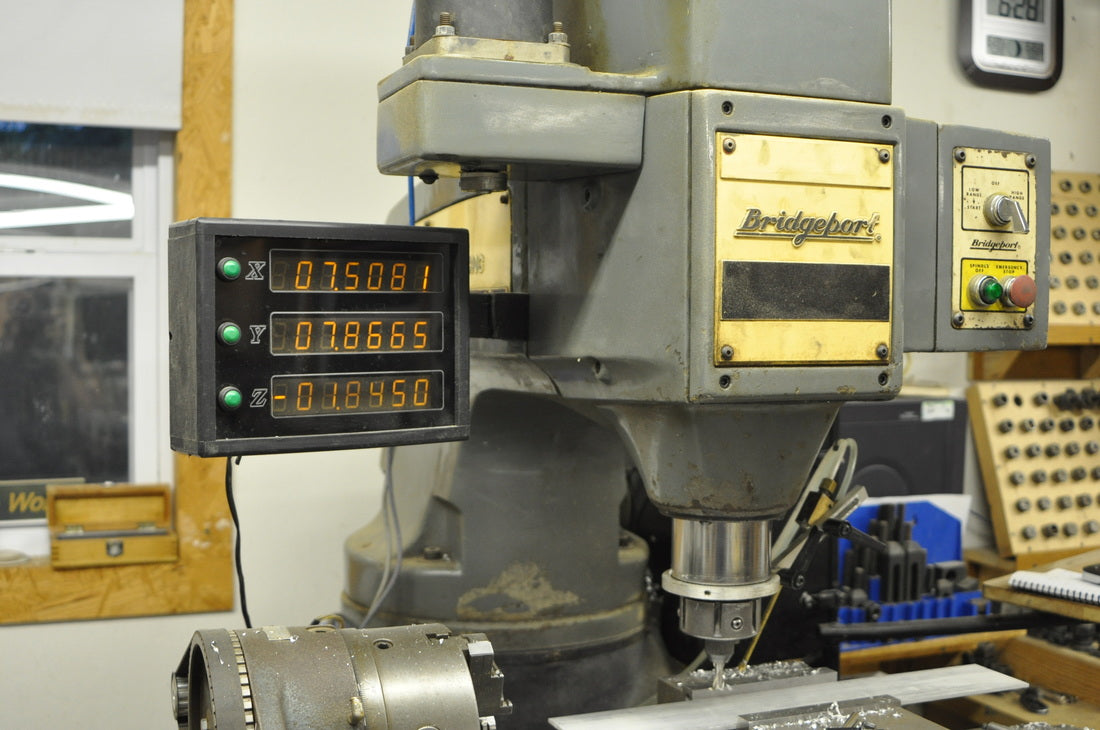
The Bridgeport Series 1 CNC is no doubt my favorite tool in the shop. I found it on Craigslist a few years ago. I wrote about the adventure in the forums at CNCZone. Having a DRO for your CNC machine can be helpful setting up your work, besides it is a fun project.
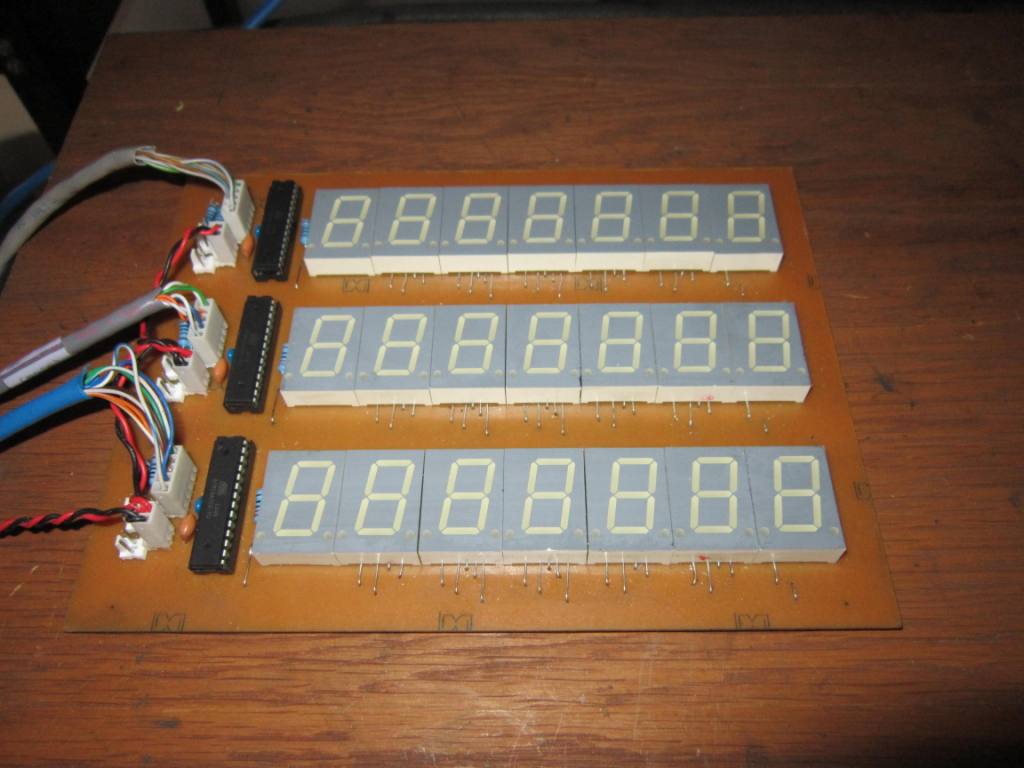
The circuit is pretty basic. Each axis consists of the popular microprocessor (ATmega328) found on the Arduino, several digital LED displays, and a few passive components. Each microprocessor is connected to a 2 channel quadrature encoder (my encoders came with the mill). The firmware is short and sweet and can be downloaded to the microprocessor using the Arduino IDE.
The microprocessor’s function is to count encoder ticks and direction through the 2 microprocessor interrupts, then calculate the position. Once it has the position, it has to output that into the display LED segments. Because the ATmega328 does not have enough pins, each digit of the display has to be set in series. The LED segments are only on a fraction of the time, but it happens so fast that you cant even see them flicker. It appears that they are all on at the same time. The green buttons reset the microprocessor… used to zero the axis.
You can download the files for free for this project in our store here: Project Files

There is plenty of room left on the ATmega’s, so added features could be programmed. It would be a fun project to code a DRO with more functions. Please note that I did not make plans for the enclosure. You can download all the needed files to create the board in our store. The files are free.